


Getting Started with New Chicks

Do you know their 3 key needs?
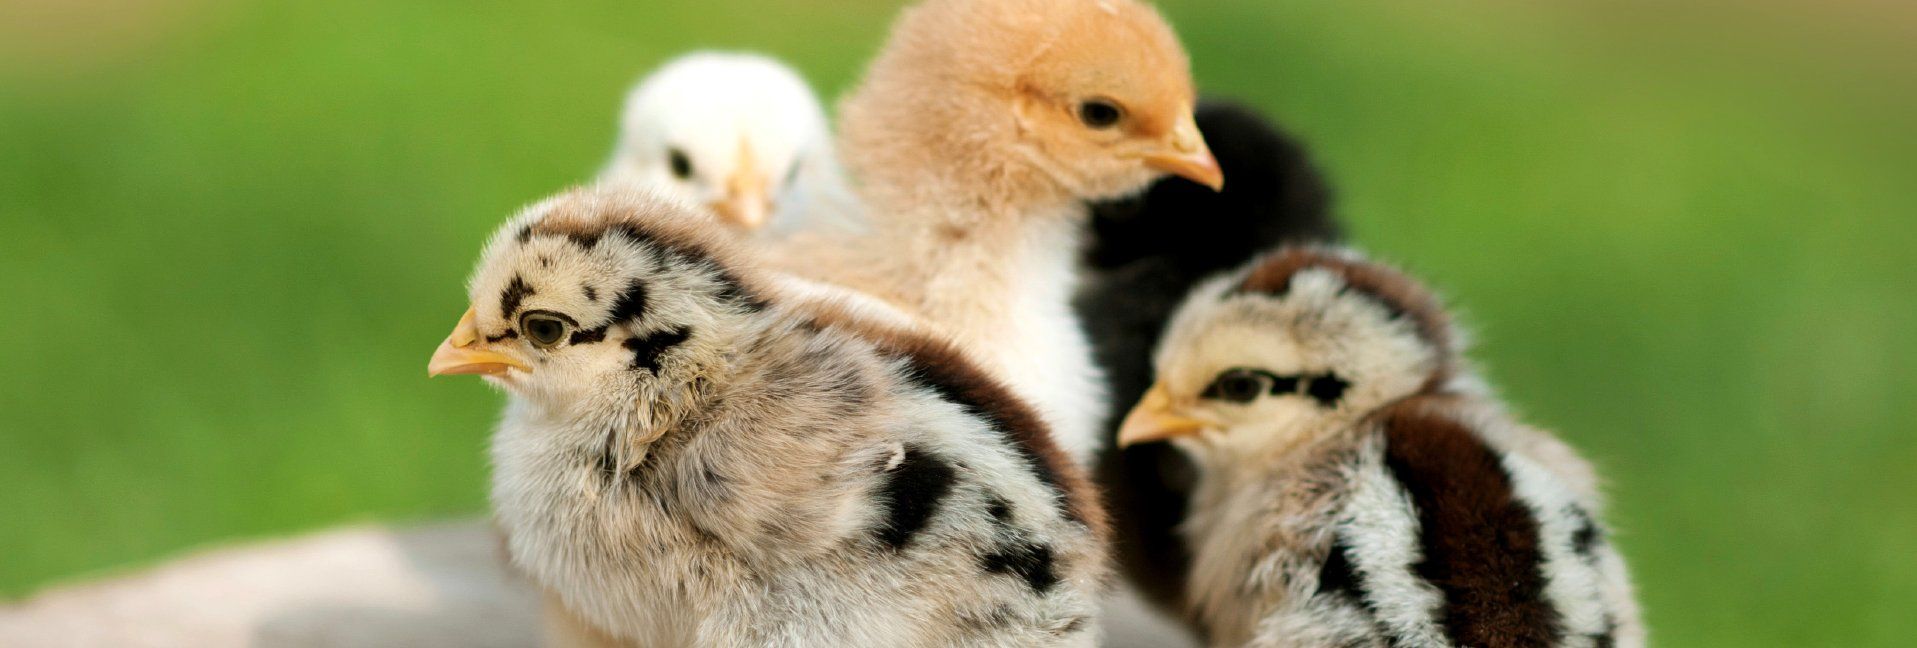
Across the U.S., people are flocking to stores and online to order new baby chicks—it’s that time of year and the cheeping bundles of fluff are hard to resist.
However, it’s important to follow some basics when caring for springtime chicks and getting them off to a good start. McMurray Hatchery Vice President Tom Watkins has some advice. For more than a century, McMurray Hatchery has been a trusted resource helping raise healthy flocks.
“Caring for baby chicks is pretty simple,” says Watkins. “Chicks have three basic needs: a brooder with heat, feed, and water. Once these needs are met, they grow fast so take some time to enjoy them.”
Set up a brooder first
Before your chicks arrive, you will need to set up a brooder. This is home for your chicks during their first few weeks until they feather out and are old enough to live in a coop.
A brooder can be as simple as a large box or galvanized bin with bedding, a chick waterer, feeder, and a heat source. Watkins, a chicken raiser himself, uses a complete starter kit at his own homestead.
Make sure the brooder area is large enough, allowing at least 0.5 square foot per bird to start. The sides should be high enough to keep the chicks in, and drafts and other animals out. Remember also that as your chicks grow, you will need to expand the size of your brooder.
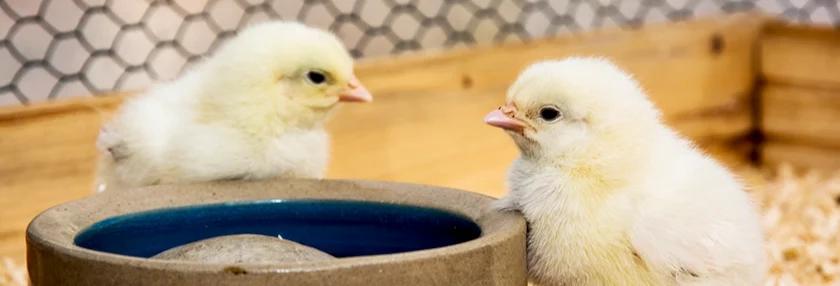
When it comes to feeders Watkins says, “Reel-style feeders are nice for keeping chicks from climbing in the feed and helps to keep manure out of their feed. But the first few days you don’t want to do anything to prevent them from getting to their feed. Start with a low, wide dish so they can access their feed right away, and then move to a chick feeder once you are sure they are eating properly.”
Chick waterers come in various formats, like founts and nipple waterers. A one-gallon waterer will handle up to 50 chicks, but look for one that the chicks can’t climb into and drown. Nipple-style waterers are nice as the water stays clean, but you may need to teach the chicks how to use them.
Fill the brooder with a one-inch layer of wood shavings. Cedar chips, sawdust, and treated wood chips are not recommended. Sand, straw, or dirt will also do, but clean wood shavings are preferred.
Covering the bedding with paper towels days will help the chicks easily find their feed. These can be removed after the first few days. Newspaper is not recommended as it can be too slippery and can lead to issues such as splayed legs.
Your chicks will need to be kept warm for four to six weeks in the brooder, so you will need a thermometer and a heat source such as a radiant heat source or a heat lamp. Radiant heaters, like the Brinsea EcoGlow, are a safe option for those brooding chicks indoors. If you are using a heat lamp, make sure it is safely hung at least 18 inches above the brooder floor and free from risk of being knocked over and causing a fire.
Finding feed and grit
When selecting feed for your chicks, look for a quality starter feed, one that is protein-dense and designed to meet the needs of baby chicks: 18% protein for chicks or bantams; 22% for heavy meat birds. Chicks will remain on starter feed for four weeks. Feed can be medicated or unmedicated—if your chicks arrived vaccinated for coccidiosis, use an unmedicated feed as the medicated will nullify the vaccine.
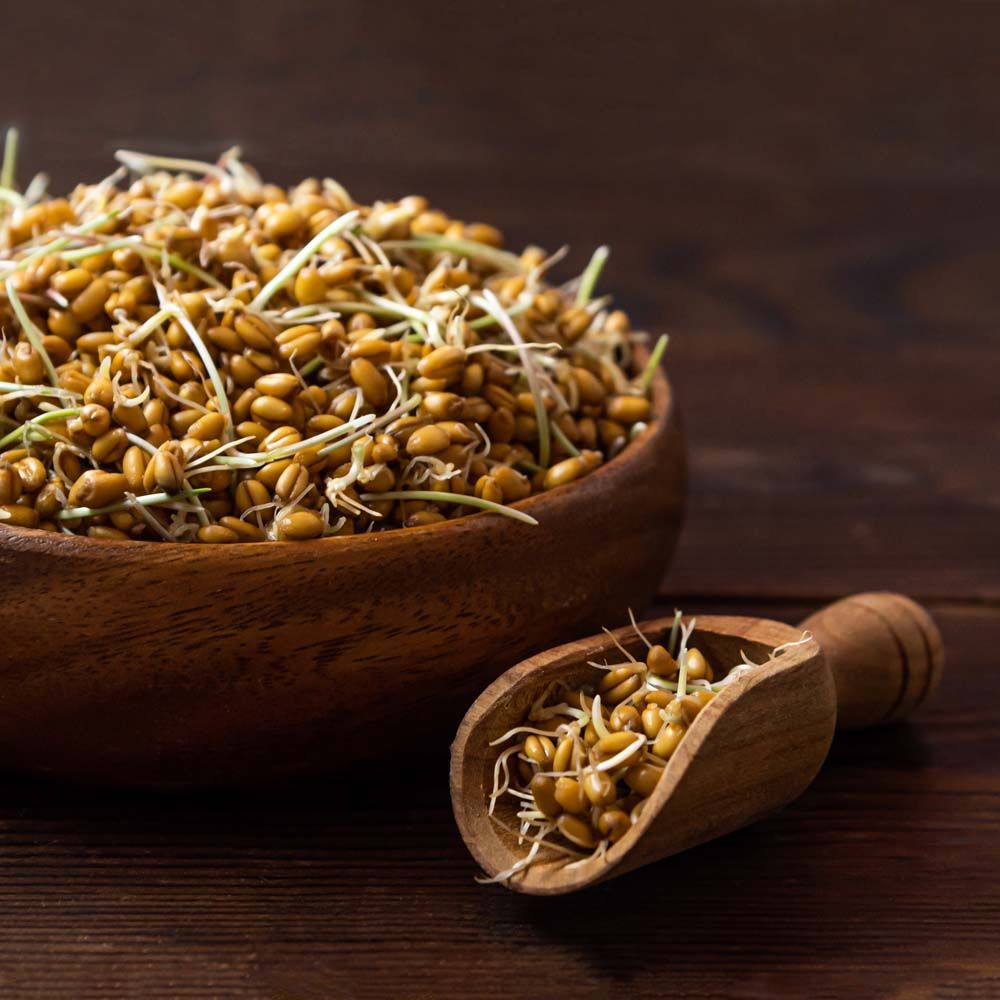
After about three days, sprinkle a small amount of chick grit on their feed daily. Avoid putting too much on as the chicks will fill up on it instead of feed.
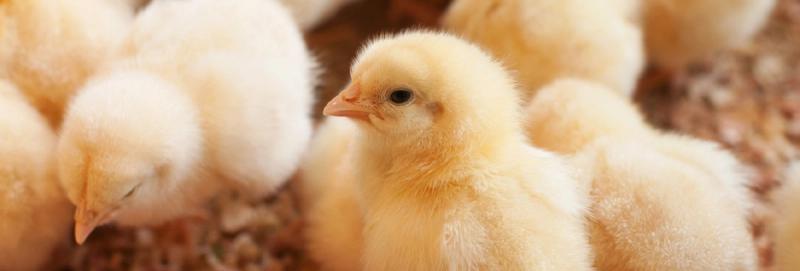
When your chicks arrive
When you receive your chicks, they will need water and the warmth of the brooder right away. As you add them to the brooder, show them where their water is and “teach” them how to start drinking by gently dipping the beak of each chick in the water as you add them to the brooder.
For the first 48 hours, keep an eye on your chicks and make sure they are active, eating, and drinking. “Never let your chicks run out of water and make it as easy as possible for them to find their food, Watkins says. “Most baby bird loss is caused when a bird doesn’t eat or drink.” He recommends adding an electrolytes to their water for the first few days. This helps the chicks overcome the stress of shipping, travel, and moving to their new home.
Keep the brooder at 90-95 degrees F. for one week, then reduce the temperature five degrees per week until you get to 70 degrees F. By then, your chicks should have their feathers in and will be ready to move out of the brooder and into a coop.
Once they are warmed up, fed, and watered take some time to get to know your chicks and have fun!
Tags:Chicken Chatter


Acreage Life is part of the Catalyst Communications Network publication family.